
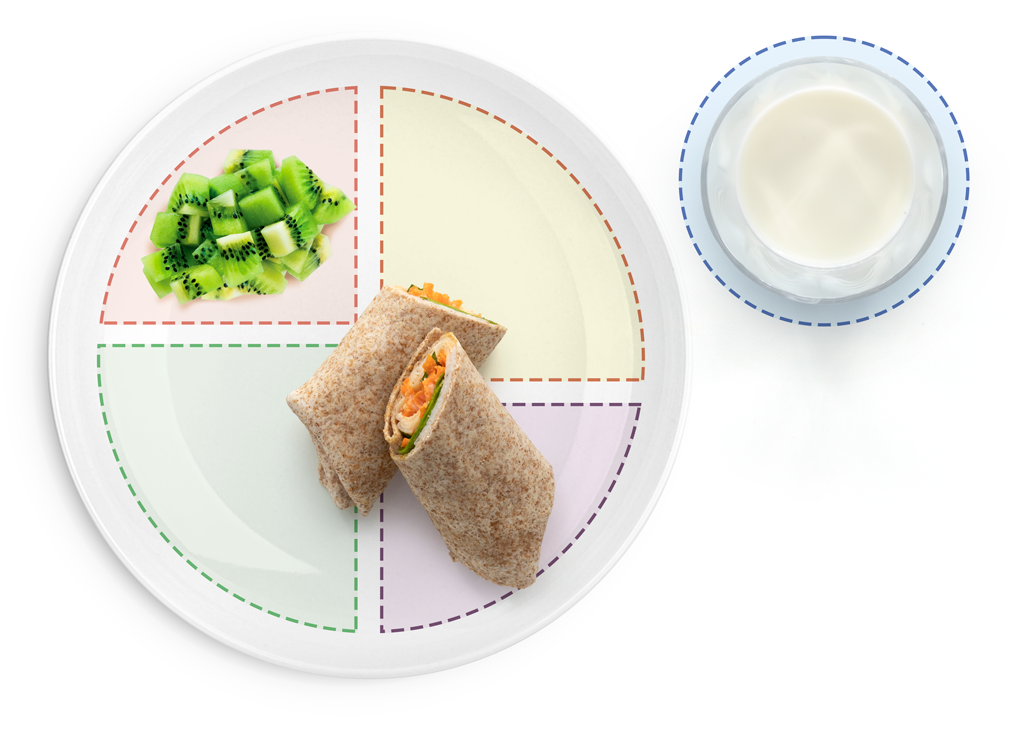
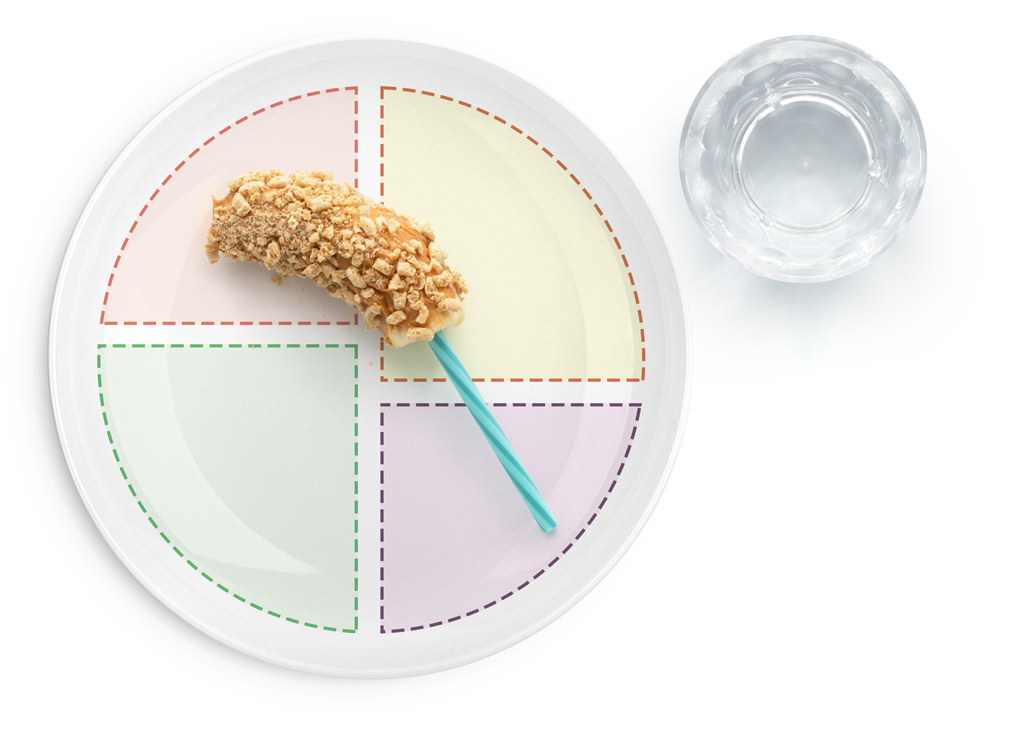
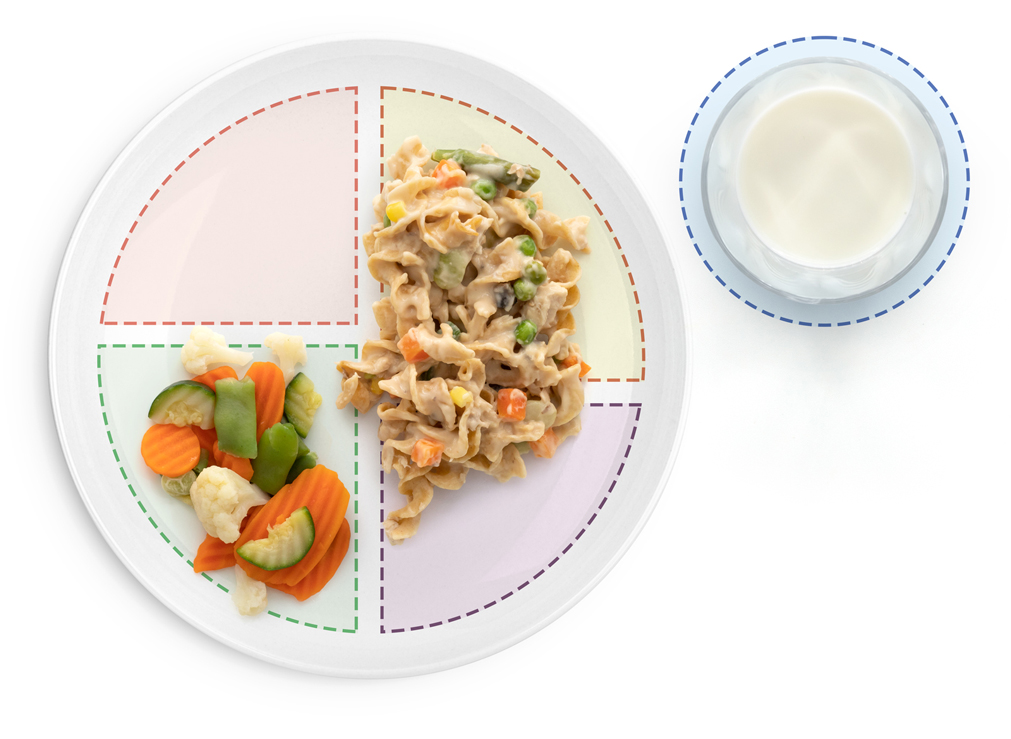
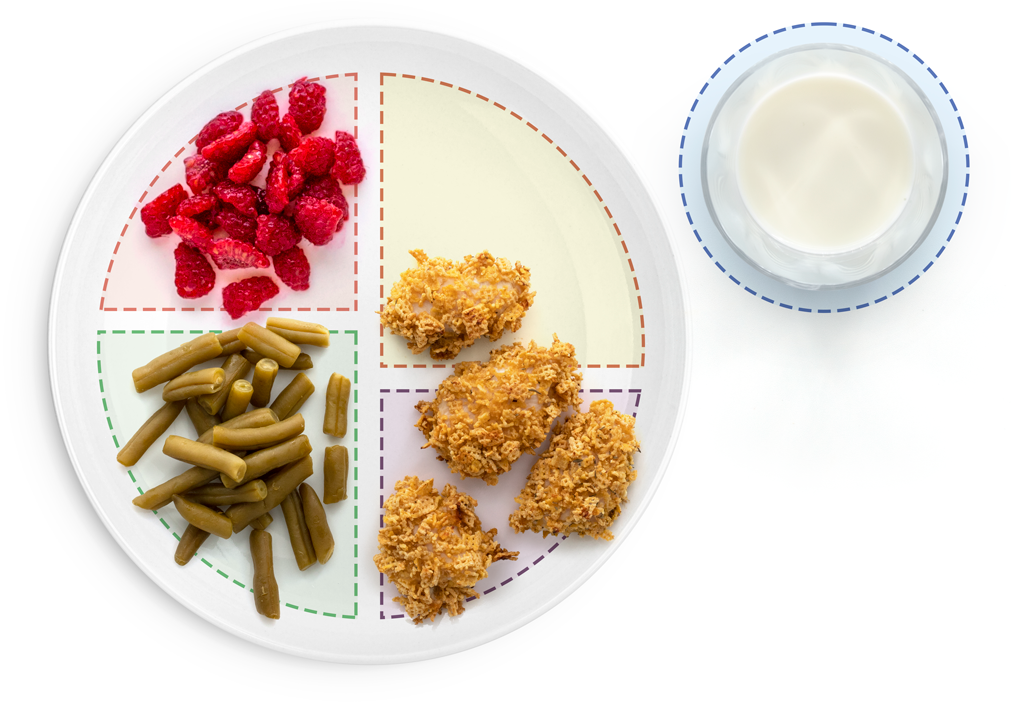
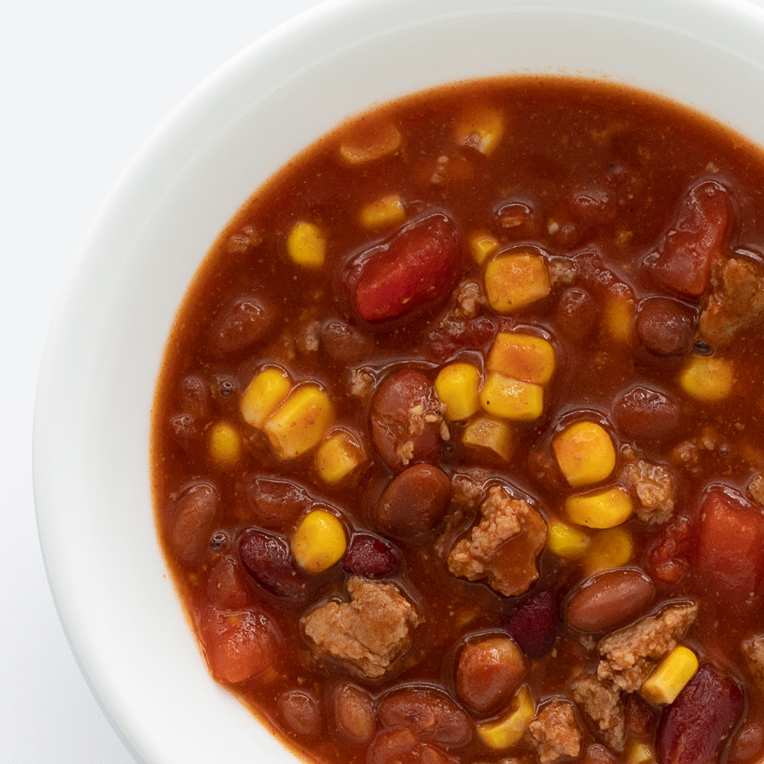
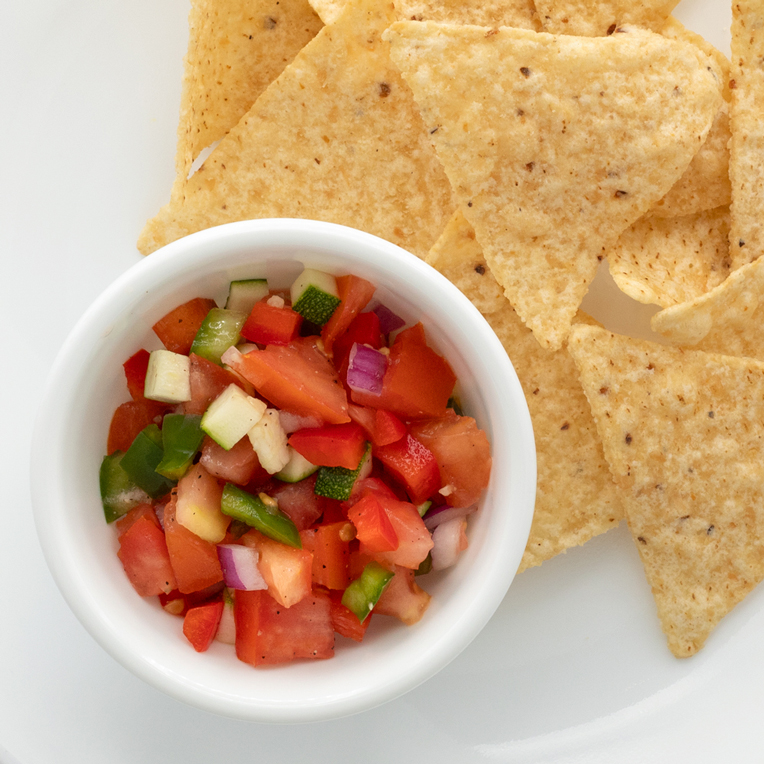
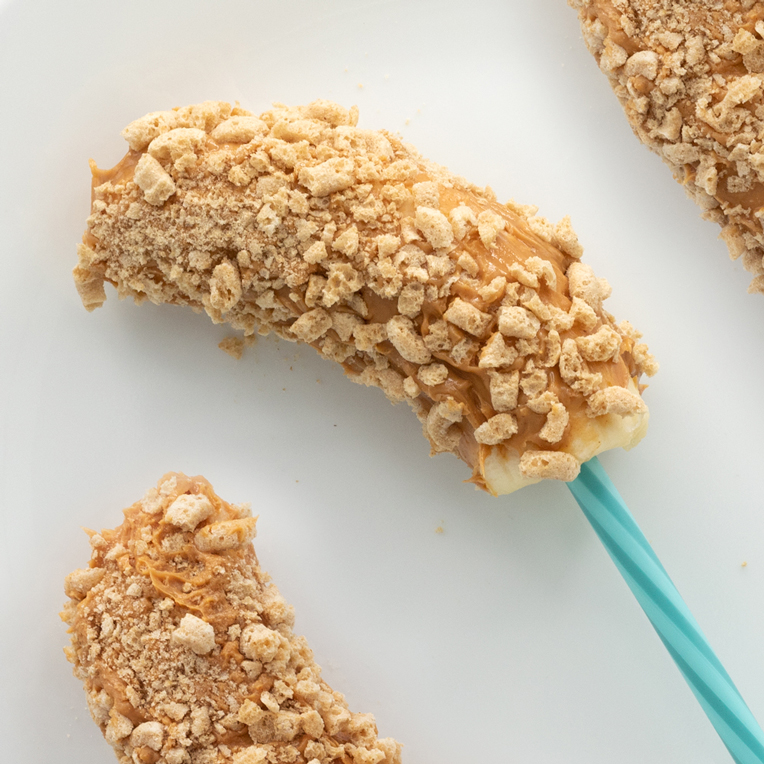
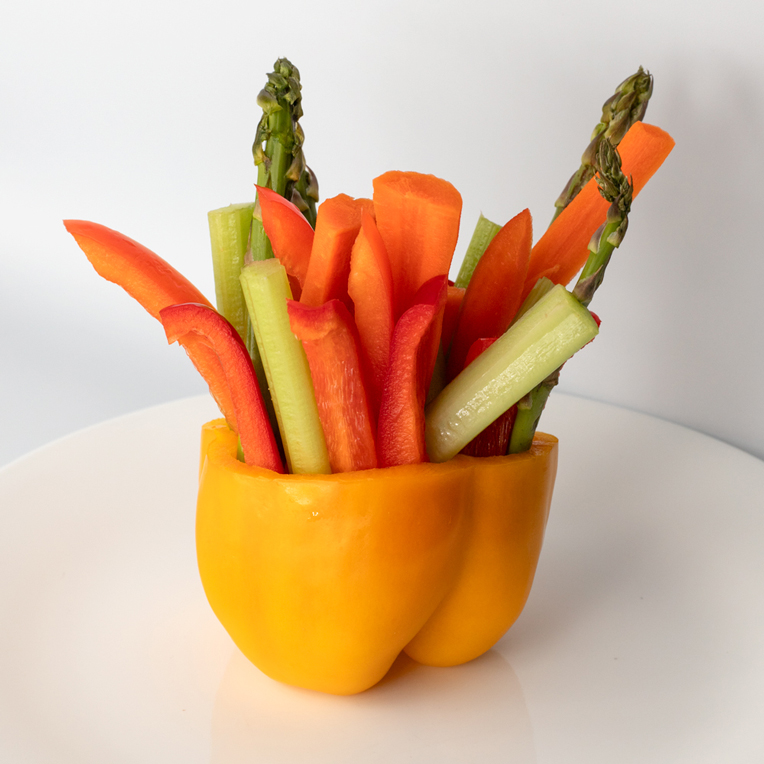
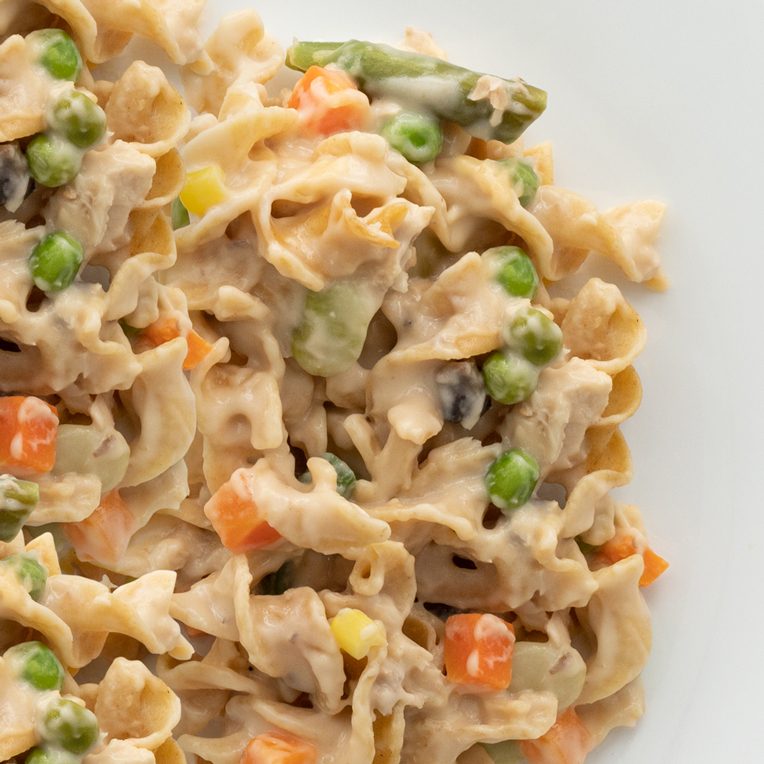
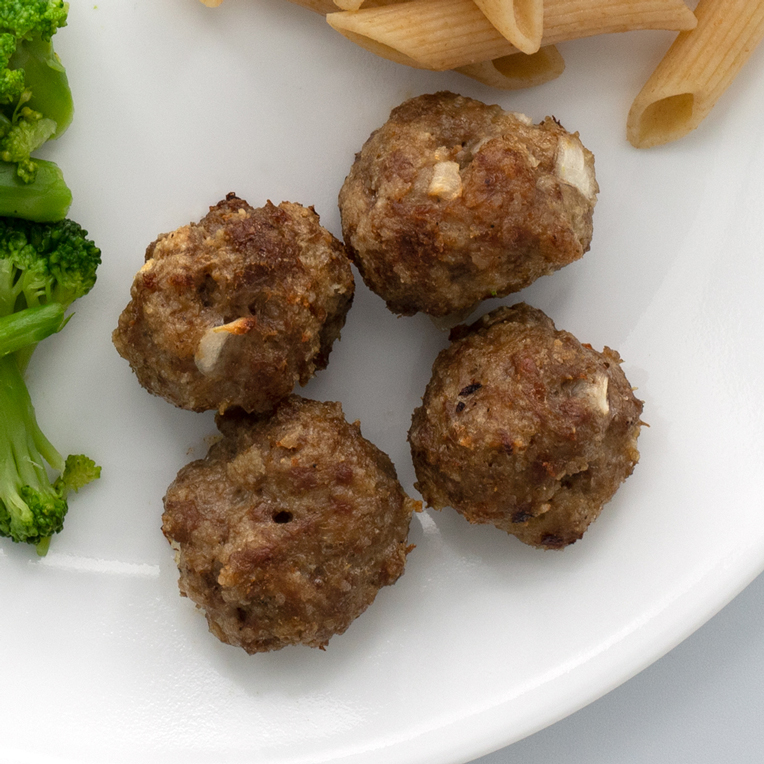
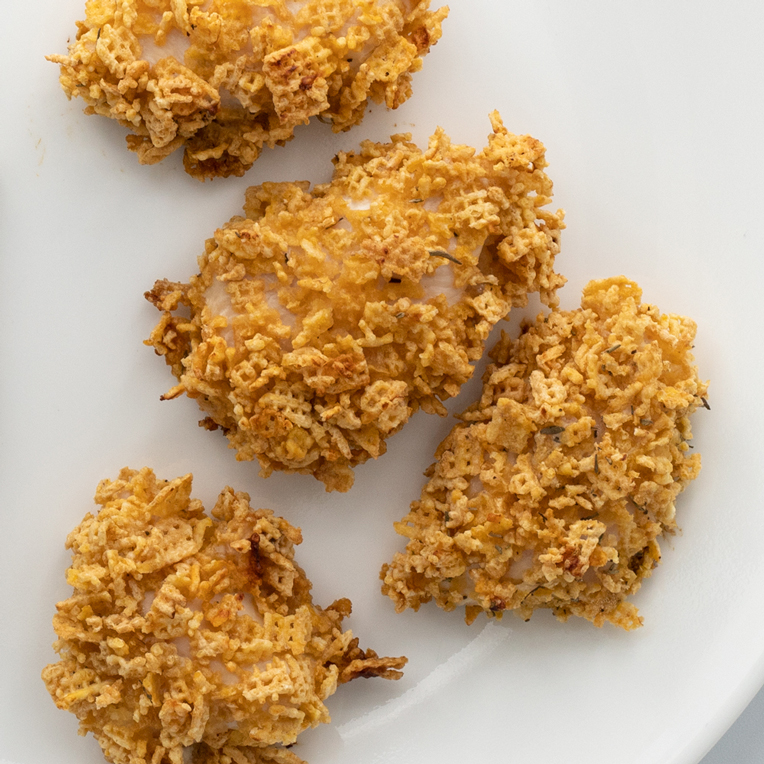
Meal & Snack Ideas for
Preschoolers (3-5 Years)
- Home
- Eat·Grow·Live Healthy
- Children
- Meal & Snack Ideas for Preschoolers
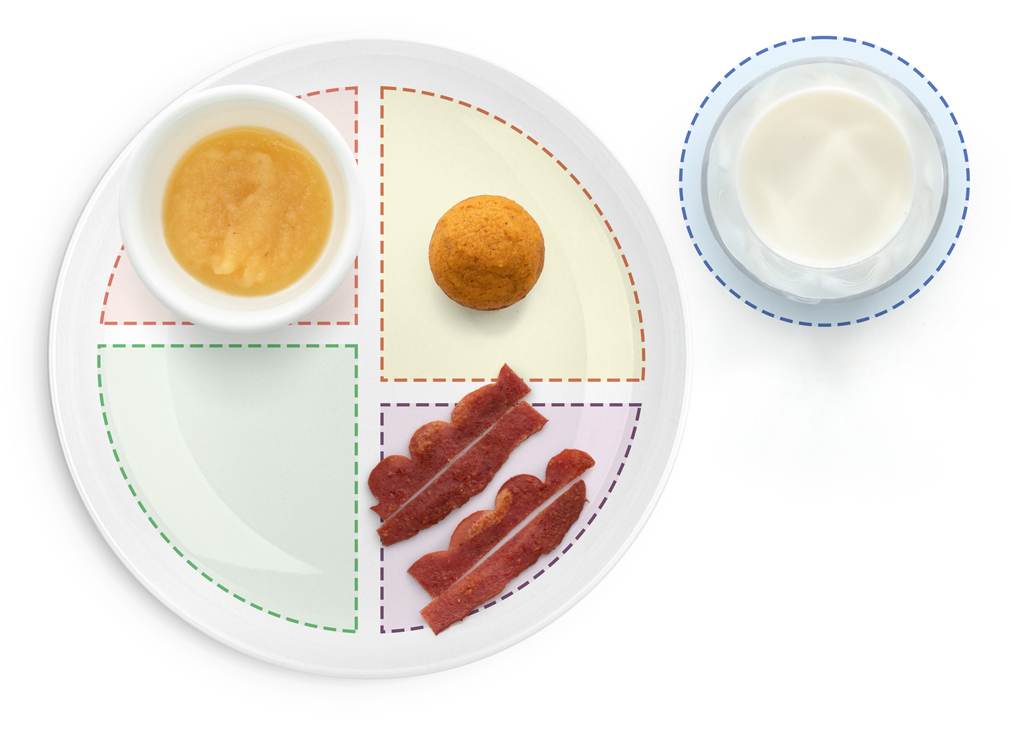
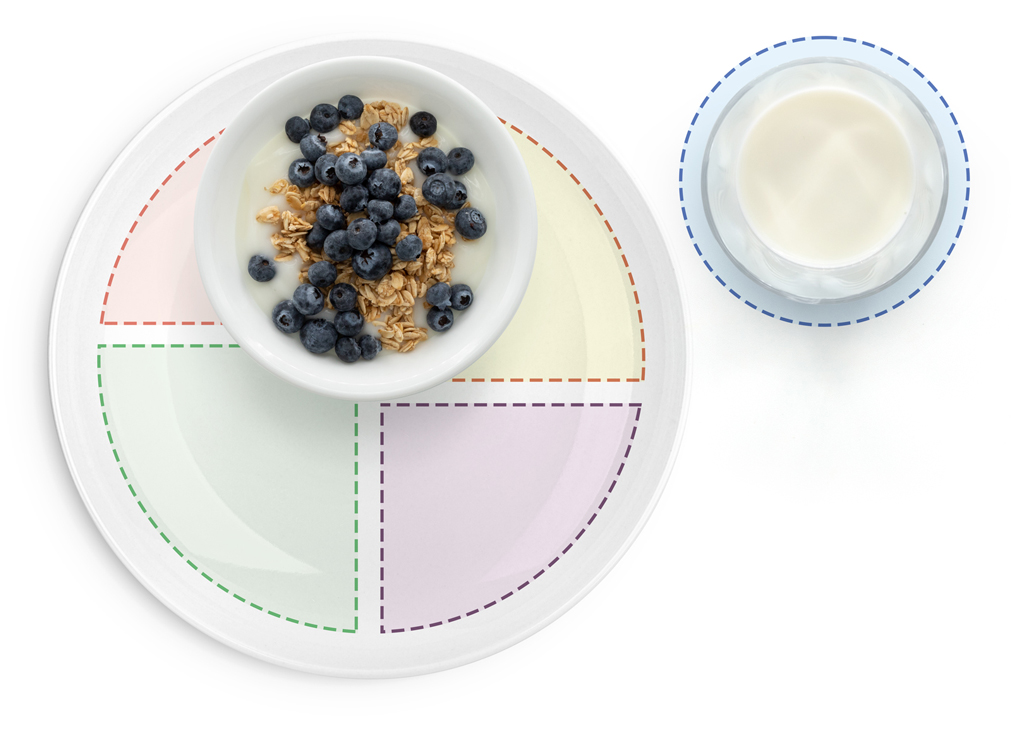
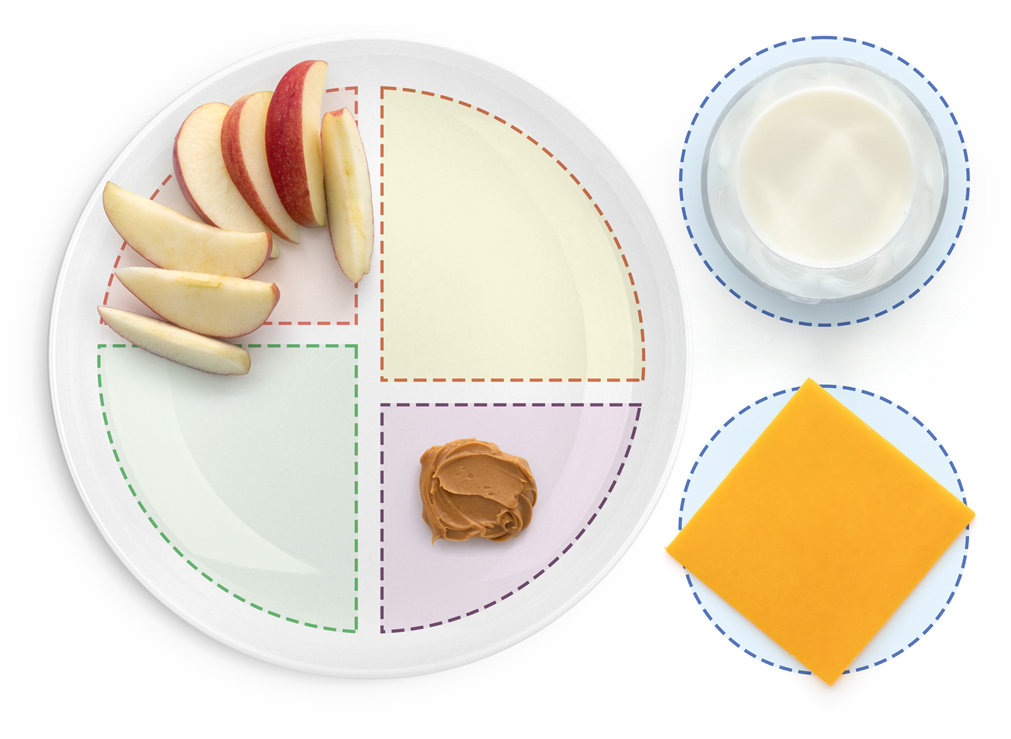
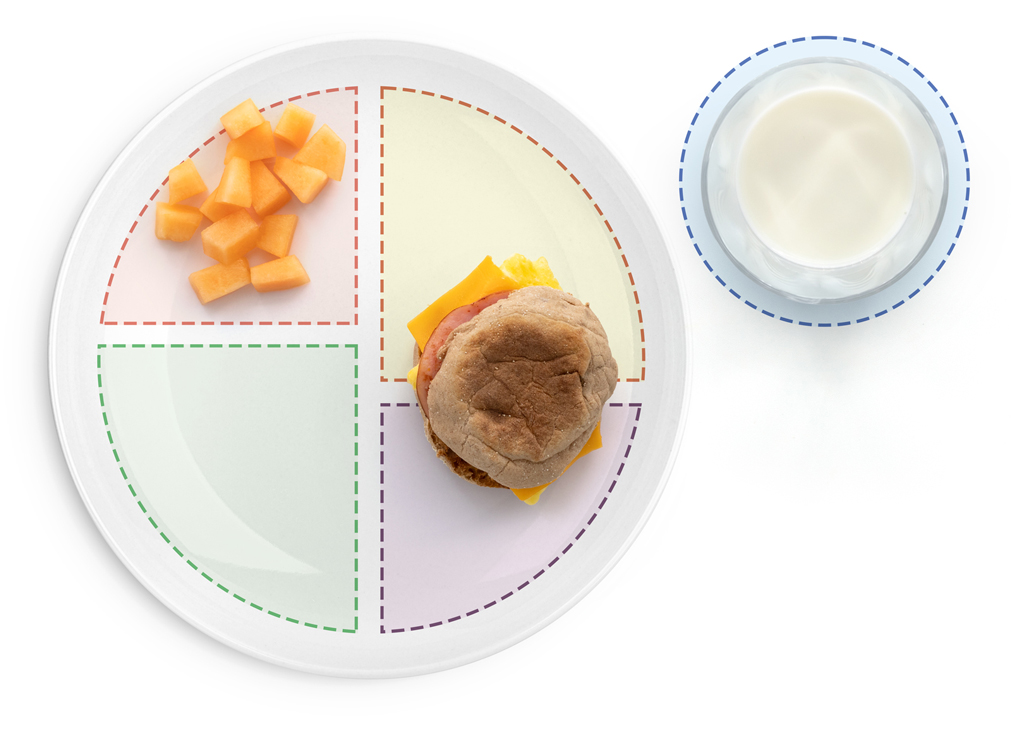
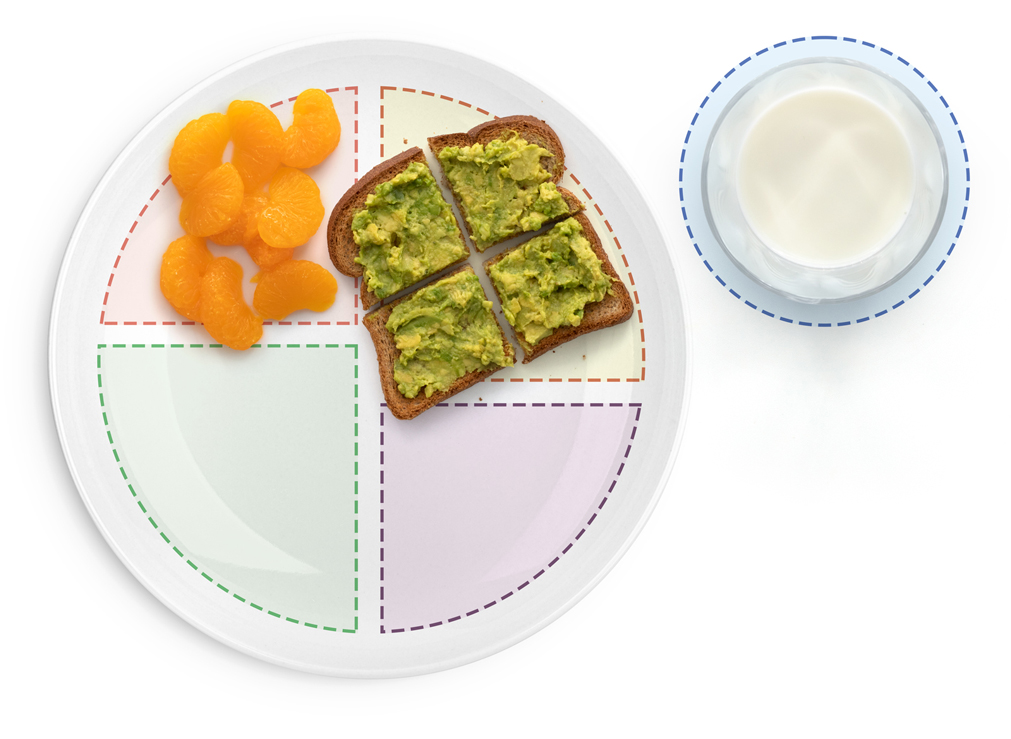
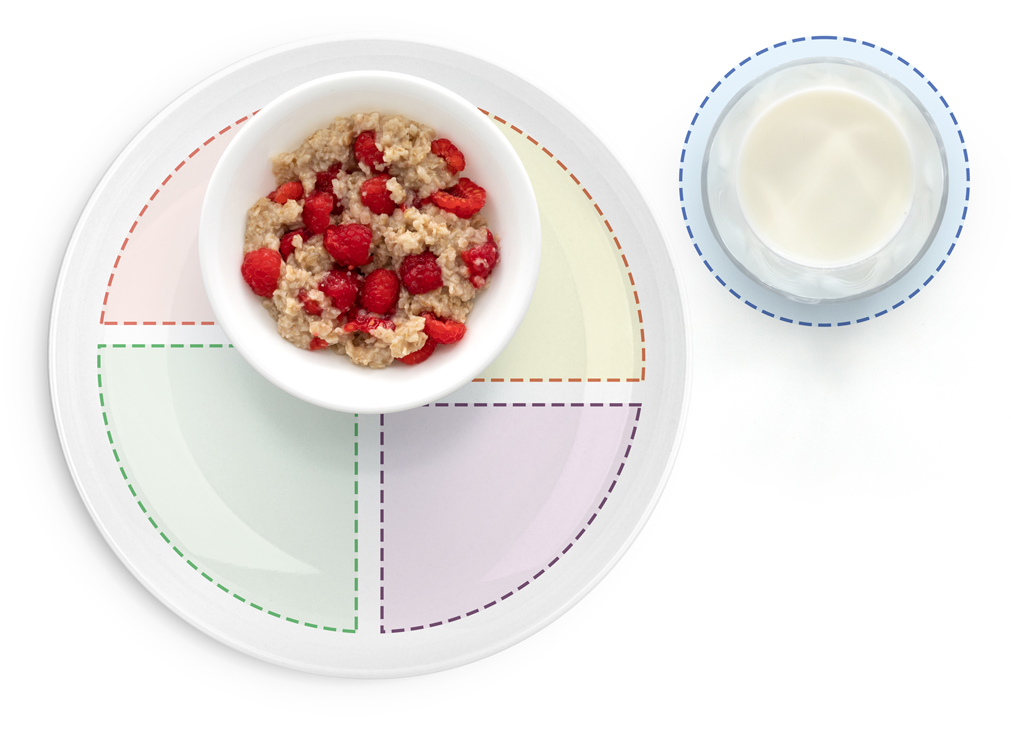
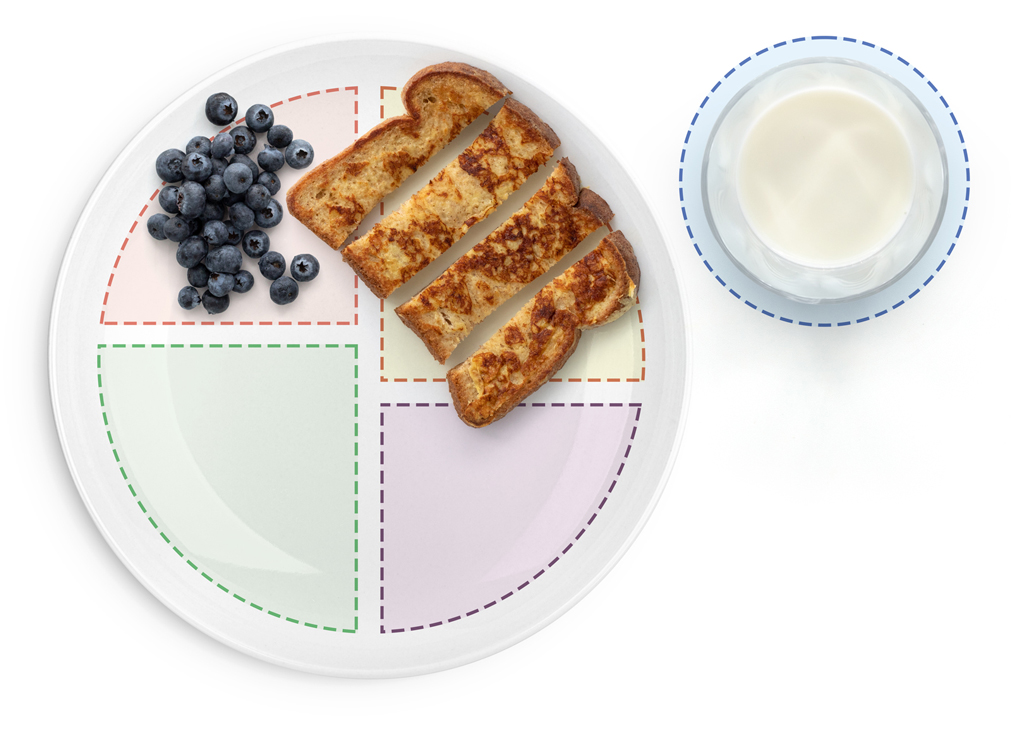
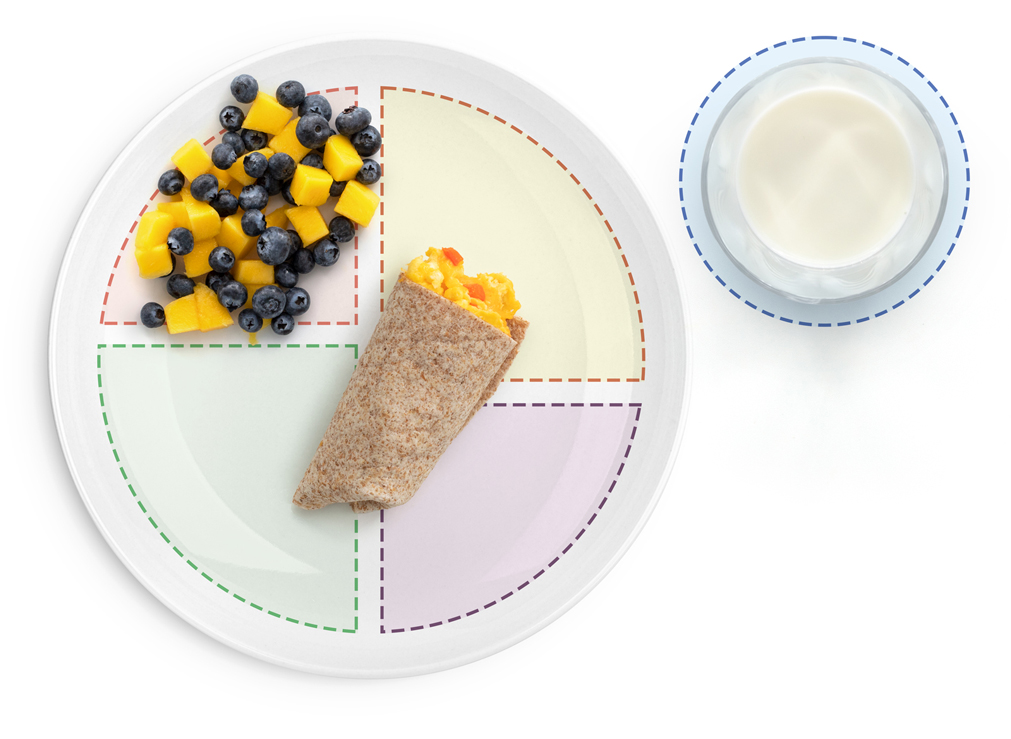


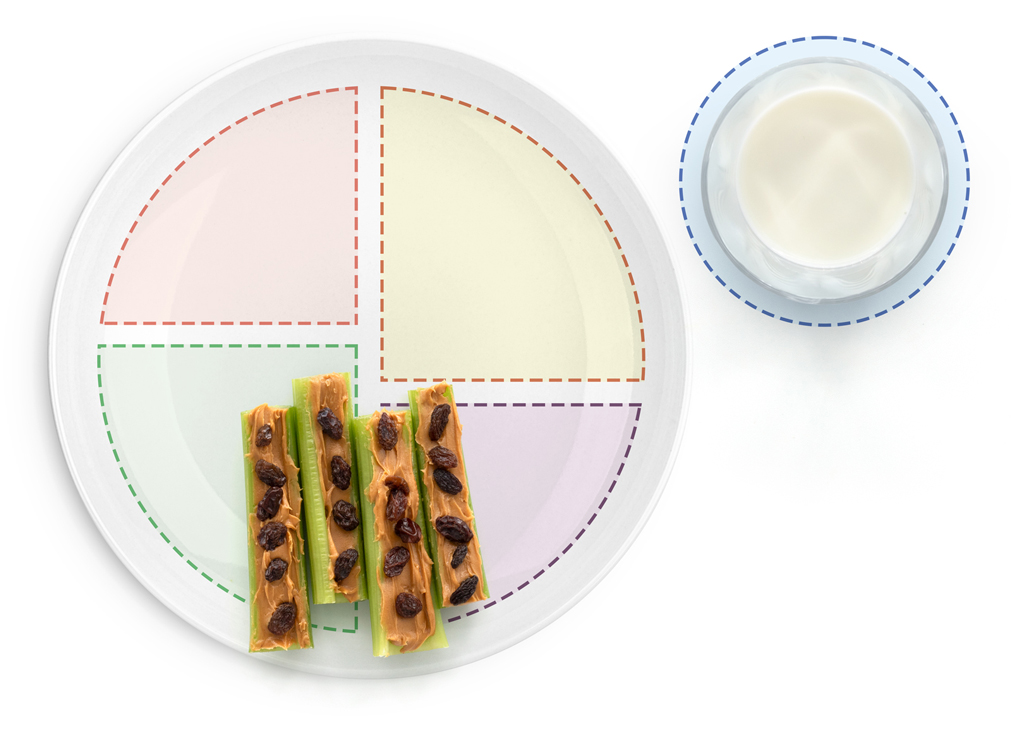
Be careful! Young children can choke on small, hard, or sticky foods like raisins. Always watch your child when they eat to help prevent choking.


Share
Share this link via: