Show Me a Sign
- Home
- Live Well Blog
- Show Me a Sign
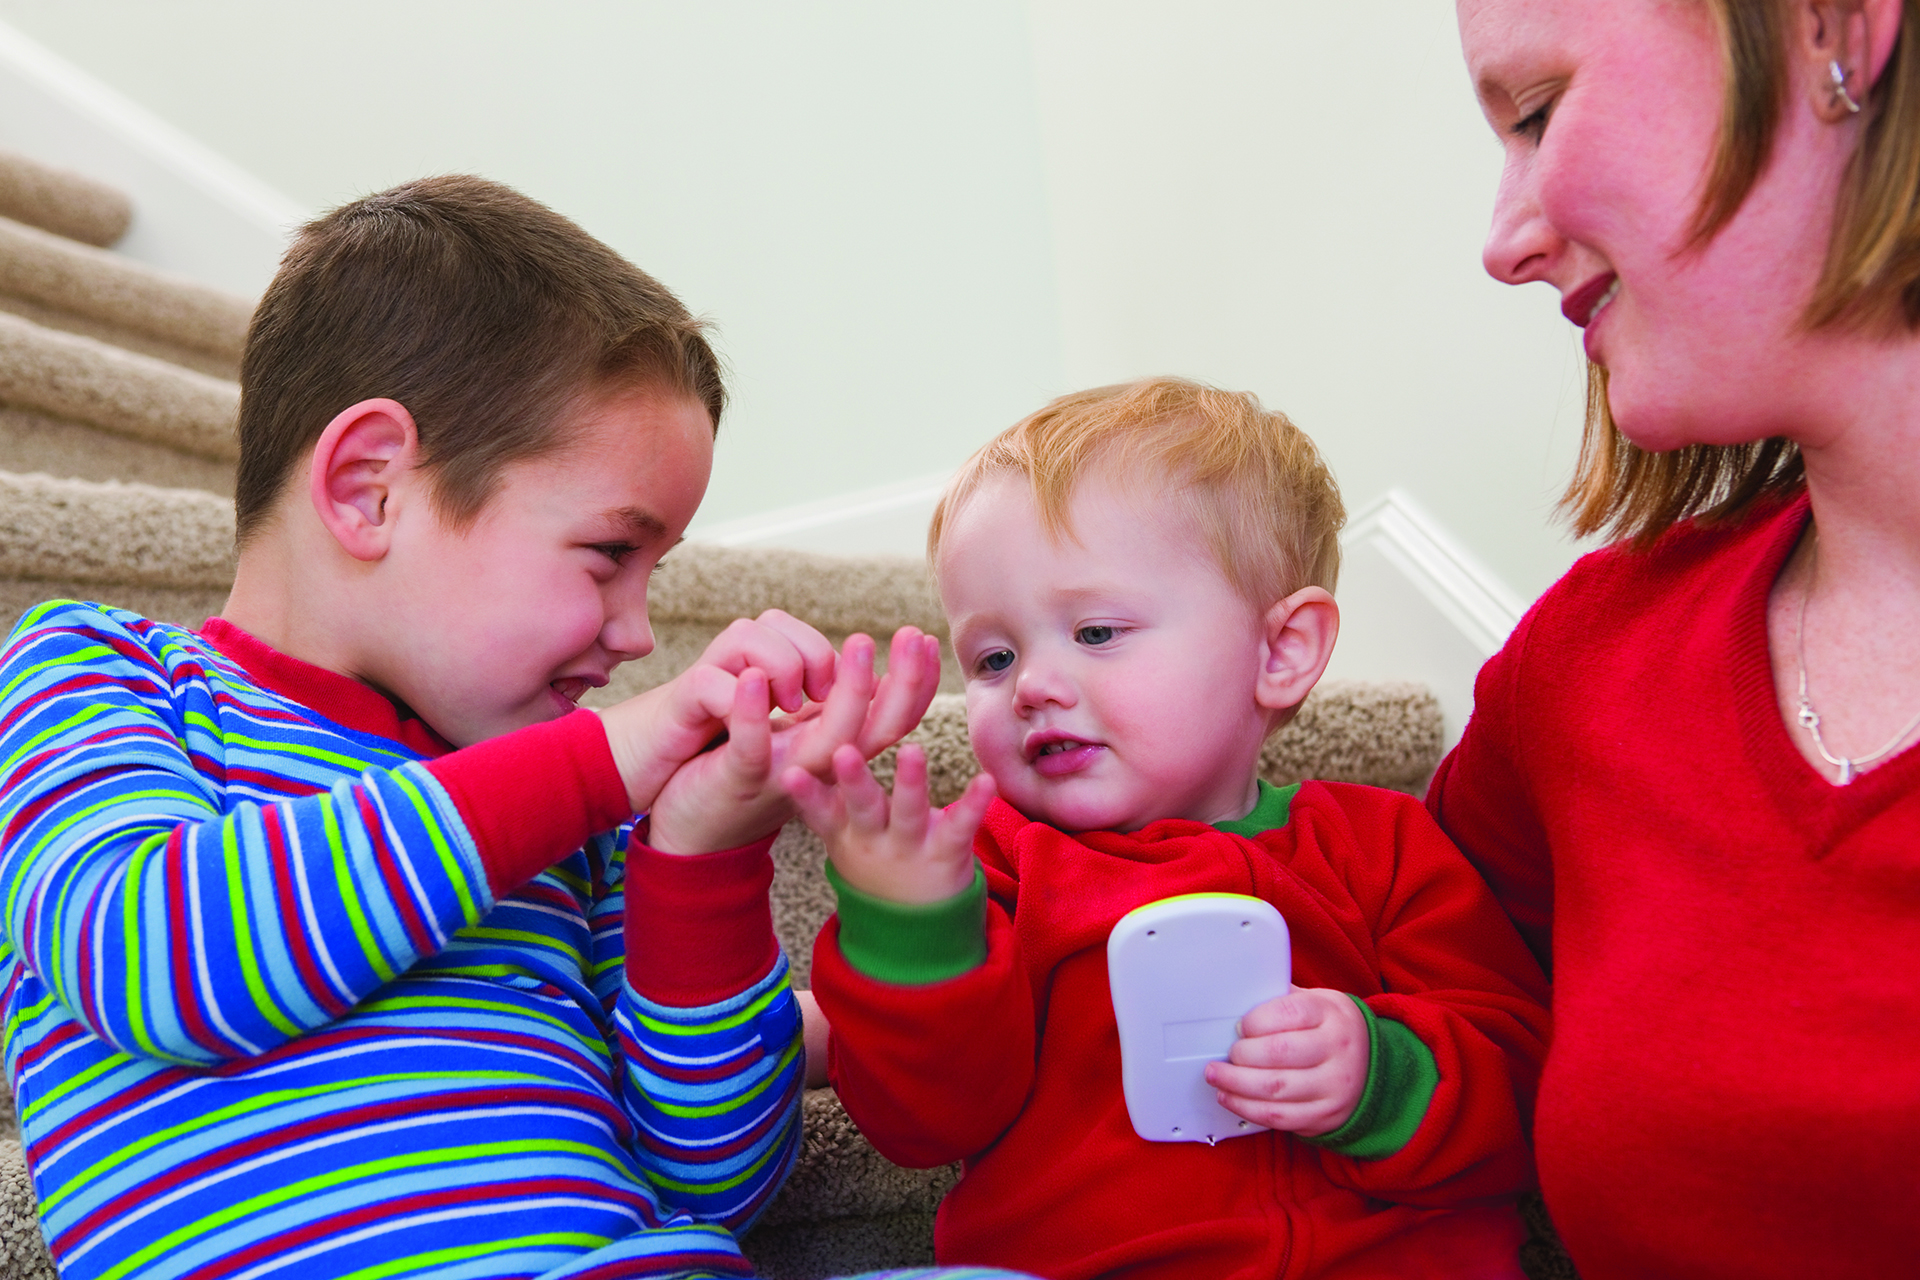
A few months ago, I met up for dinner with my friend, Marliese and her 11-month old daughter, Caroline. As we were eating, Caroline began making a hand gesture to Marliese, who responded by making the same gesture and saying, “Caroline, would you like more banana?” As Marliese offered Caroline more banana, it was clear that’s exactly what she wanted. They were using sign language to communicate, and it was incredible!
As a Speech-Language Pathologist, Marliese often uses sign language to communicate with young children … and you can do the same! I asked Marliese if she could share some advice and here’s what she had to say…


Why use baby sign language?
Sign language helps babies express their wants and needs before they can talk. This can increase early communication and reduce frustration for everyone.


Why did you decide to use sign language with Caroline?
As part of my work with preschoolers who have speech delays, I pair many words with signs. Sign language empowers many young children who can’t speak yet. I started signing with Caroline to see if she might also benefit.


How old was Caroline when you started using sign language?
I started using a few basic signs when Caroline was 6 months old. This was also when she started eating solid food, so signs like “more” and “all done” worked well. As she got older, I introduced more signs, like “please” and “music.” Caroline used her first signs at 10-months, but all babies are different.


How has using sign language helped you and Caroline?
Before Caroline could talk, she could show me some of her wants and needs with signs, which helped me avoid guessing what she was trying to “say.” Most importantly, getting her needs met through signing taught Caroline that communication is powerful and fun!


What tips would you share with parents who want to try signing?
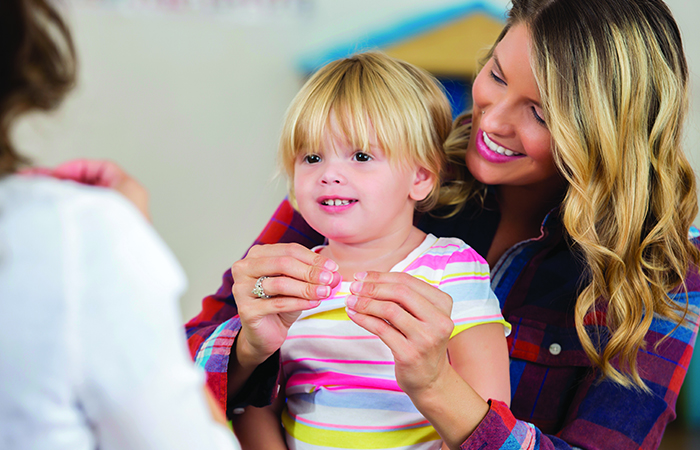
Remember that patience and repetition are key. You don’t need to learn hundreds of signs; try picking a handful that fit your needs. Start with just 1 or 2 signs at first. Your baby may watch you use a sign for many months before they try to do it back – that’s OK! They are learning and bonding with you!

Ready to Give it a Try?
Start simple
Focus on natural gestures first:
- Waving (“Hello,” “Bye-Bye”)
- Head Shake (“Yes,” “No”)
- Pointing (“I would like that”)
Try one or two new signs
- Use gestures in daily routines, like mealtimes.
Repeat, Repeat, Repeat!
- Always say the word with the gesture or sign.
- Be patient, learning new things can take time!
Whether you choose to use sign language or not, communicating with your child is so important! Talking with your child helps them develop the foundation they need to become a strong reader and thinker later in life. So, copy your baby’s expressions, talk about daily activities, read books and sing. You are your child’s first and most important teacher!

Share
Share this link via: