Autumn Apple Appeal: Homemade Apple Pear Sauce

September 7, 2022 General /FamilyRecipes

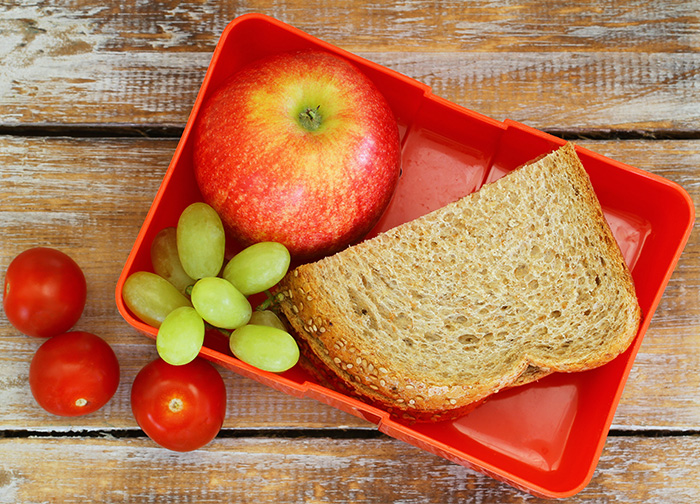
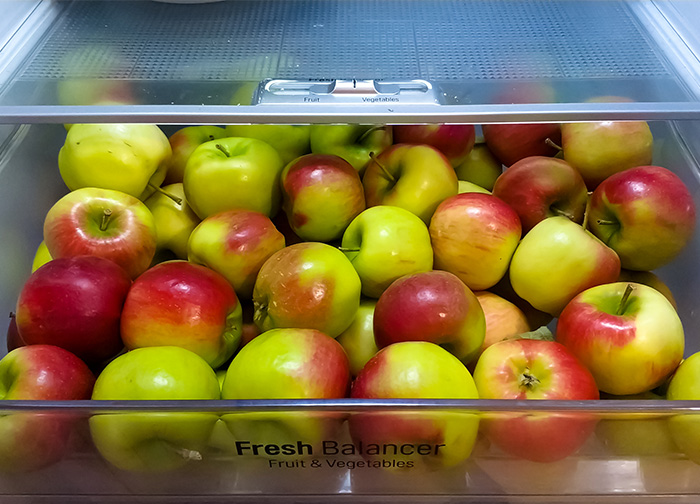
Juicy, crunchy, sour, or sweet, apples in autumn are the perfect family treat! Whether you bake them in a pie, slice them for a lunch box snack, or use them for our easy applesauce, apples pack great nutrition into every delicious bite. One medium apple has just 95 calories and 4 grams of filling fiber, and now that they’re in season, their flavor is at its peak.

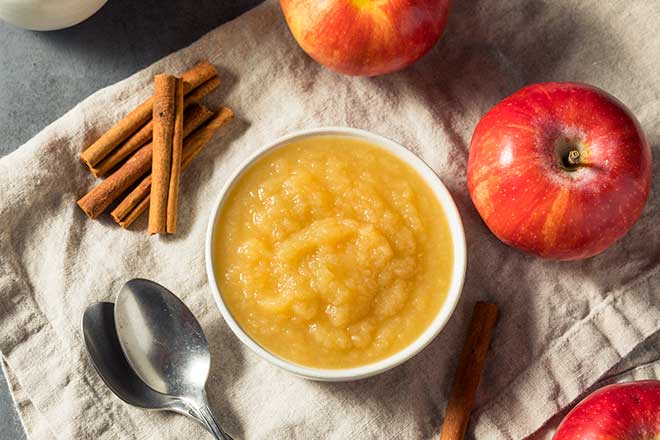
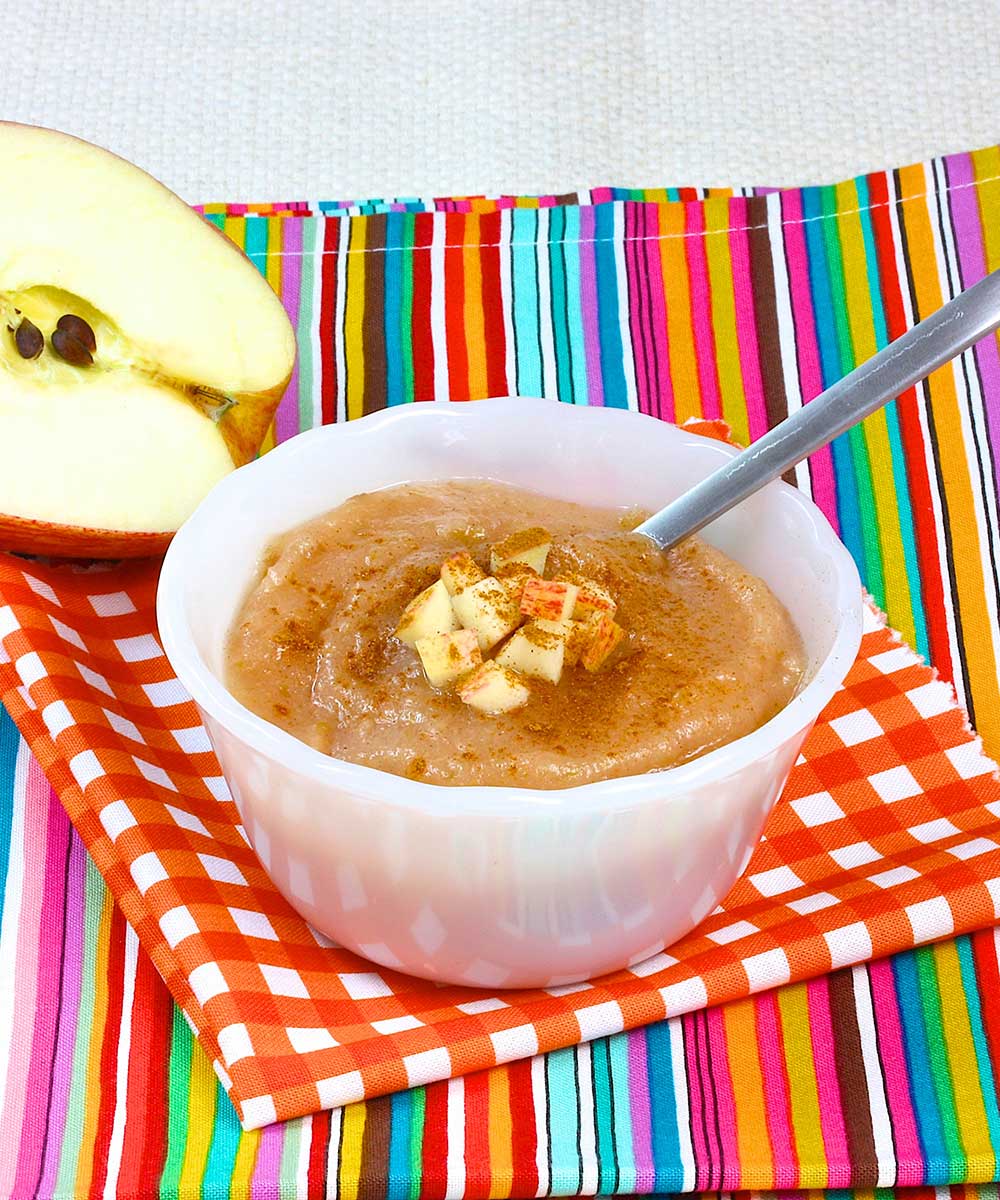
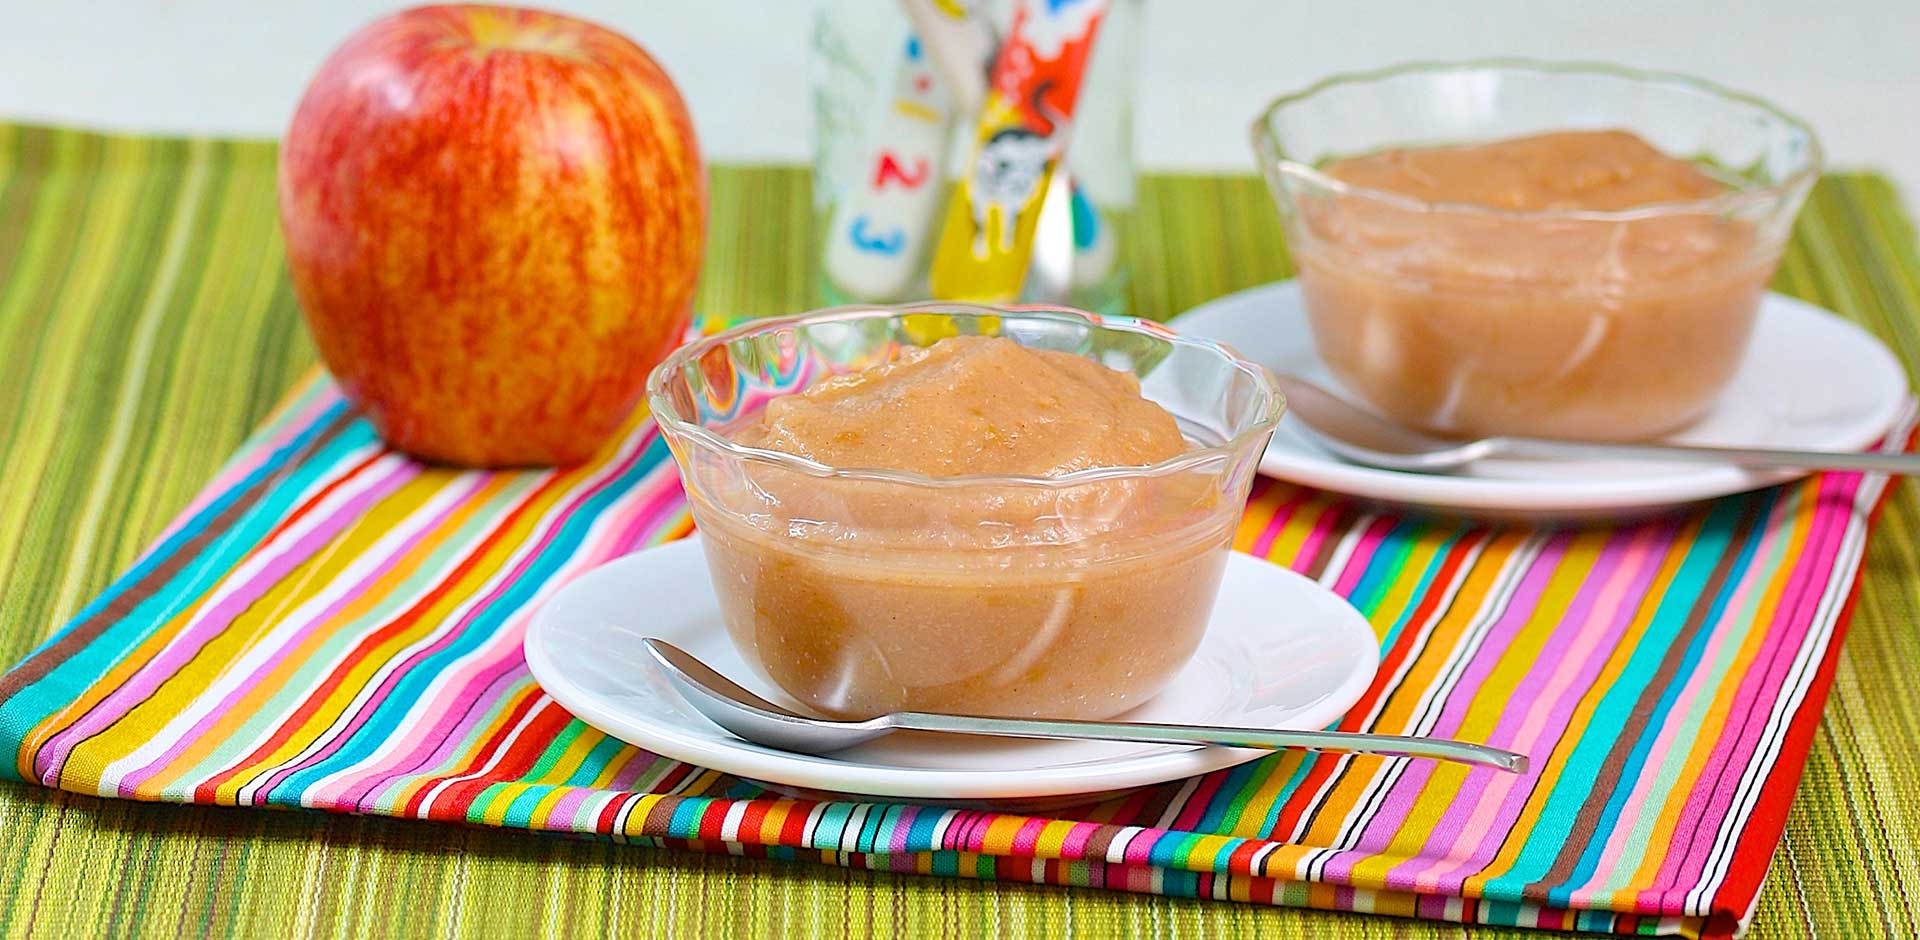
Most of the vitamins, minerals, and fiber found in apples is actually in the peel, so we leave the peels on for this simple, stovetop recipe. Once blended, the cooked peels virtually disappear. Sweet soft apples such as McIntosh and Gala work best in this naturally sweet applesauce, and their red peels add a nice rosy color.

Homemade Apple Pear Sauce

MAKES 4 SERVINGS

  • Place the apples, pears, apple juice, lemon juice, and cinnamon in a medium pot and stir to combine. Place over medium-high heat, cover, and bring to a boil. Lower the heat and cook at a low boil, covered, until the apples are very tender, about 25 minutes. Stir occasionally. Let cool about 20 minutes.
  • Place the cooked fruit in a blender and blend until smooth and the peels are incorporated. (If you don’t have a blender and plan to mash the fruit with a fork or potato masher, you may want to slice off the peels first before cooking for a nice, smooth texture.)
Tip: Don’t have a ripe pear on hand? Not to worry! Add an extra apple instead or 1 cup of fresh or frozen strawberries.
star
Nutrition Information per Serving (1/2 cup): 140 calories, 0g fat, 5mg sodium, 36g carbohydrate, 6g fiber, 1g protein, 20% vitamin C
Choosing & Storing Fresh Apples

Autumn is apple season, and with 7,500 kinds of apples to choose from around the world, there’s a favorite apple out there for everyone. Most apples in the United States are grown in Washington, Michigan and Pennsylvania, but this favorite fall fruit is easy to find wherever you live. To keep autumn apples looking and tasting their best, follow these tips:

HOW TO CHOOSE

At the market, look for brightly colored apples, and stay away from apples that are dull or have brown spots. To avoid mushy, mealy apples, squeeze lightly to make sure they are firm.

HOW TO STORE

Apples stay fresher for longer if you store them in the refrigerator. Even though they may look pretty when displayed on your kitchen countertop, this speeds up the ripening process.

HOW TO EAT

Apples turn brown quickly after they’ve been sliced, which quickly makes them unappealing to kids. To prevent browning, squeeze fresh or bottled lemon juice over the slices before you store them in a container or zip-top baggie.

Side-Lying

Side-Lying Hold

  1. For the right breast, lie on your right side with your baby facing you.
  2. Pull your baby close. Your baby’s mouth should be level with your nipple.
  3. In this position, you can cradle your baby’s back with your left arm and support yourself with your right arm and/or pillows.
  4. Keep loose clothing and bedding away from your baby.
  5. Reverse for the left breast.

This hold is useful when:

cross-cradle

Cross-Cradle Hold

  1. For the right breast, use your left arm to hold your baby’s head at your right breast and baby’s body toward your left side. A pillow across your lap can help support your left arm.
  2. Gently place your left hand behind your baby’s ears and neck, with your thumb and index finger behind each ear and your palm between baby’s shoulder blades. Turn your baby’s body toward yours so your tummies are touching.
  3. Hold your breast as if you are squeezing a sandwich. To protect your back, avoid leaning down to your baby. Instead, bring your baby to you.
  4. As your baby’s mouth opens, push gently with your left palm on baby’s head to help them latch on. Make sure you keep your fingers out of the way.
  5. Reverse for the left breast.

This hold is useful when:

Football

Clutch or “Football” Hold

  1. For the right breast, hold your baby level, facing up, at your right side.
  2. Put your baby’s head near your right nipple and support their back and legs under your right arm.
  3. Hold the base of your baby’s head with your right palm. A pillow underneath your right arm can help support your baby’s weight.
  4. To protect your back, avoid leaning down to your baby. Bring baby to you instead.
  5. Reverse for the left breast.

This hold is useful when:

CRADLE hold

Cradle Hold

  1. For the right breast, cradle your baby with your right arm. Your baby will be on their left side across your lap, facing you at nipple level.
  2. Your baby’s head will rest on your right forearm with your baby’s back along your inner arm and palm.
  3. Turn your baby’s tummy toward your tummy. Your left hand is free to support your breast, if needed. Pillows can help support your arm and elbow.
  4. To protect your back, avoid leaning down to your baby. Instead, bring your baby to you.
  5. Reverse for the left breast.

This hold is useful when:

laid-back

Laid-Back Hold

  1. Lean back on a pillow with your baby’s tummy touching yours and their head at breast level. Some moms find that sitting up nearly straight works well. Others prefer to lean back and lie almost flat.
  2. You can place your baby’s cheek near your breast, or you may want to use one hand to hold your breast near your baby. It’s up to you and what you think feels best.
  3. Your baby will naturally find your nipple, latch, and begin to suckle.

This hold is useful when: