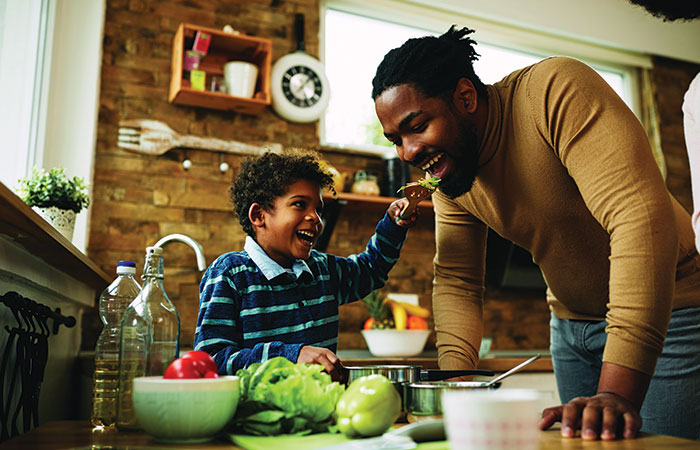
boy eating waterm banner

7 Ways to Introduce New Foods to Your Preschooler

May 24, 2023 Children

Eating should be a fun learning experience, especially for young children who are relatively new to the whole process. When the pressure to “try” something new or “finish” a meal is high, the fun and enjoyment can go right out the window. We all know it bothers a young child to be pressured into eating something they don’t know, or don’t like. Likewise, it’s frustrating for parents to have to nag, plead or discipline their child at the table. Believe it or not, introducing new foods to your child can be both a fun and learning experience. Listed below are seven ways to bring the pleasure, lessons and exploration back to mealtime.

HELPING HANDS

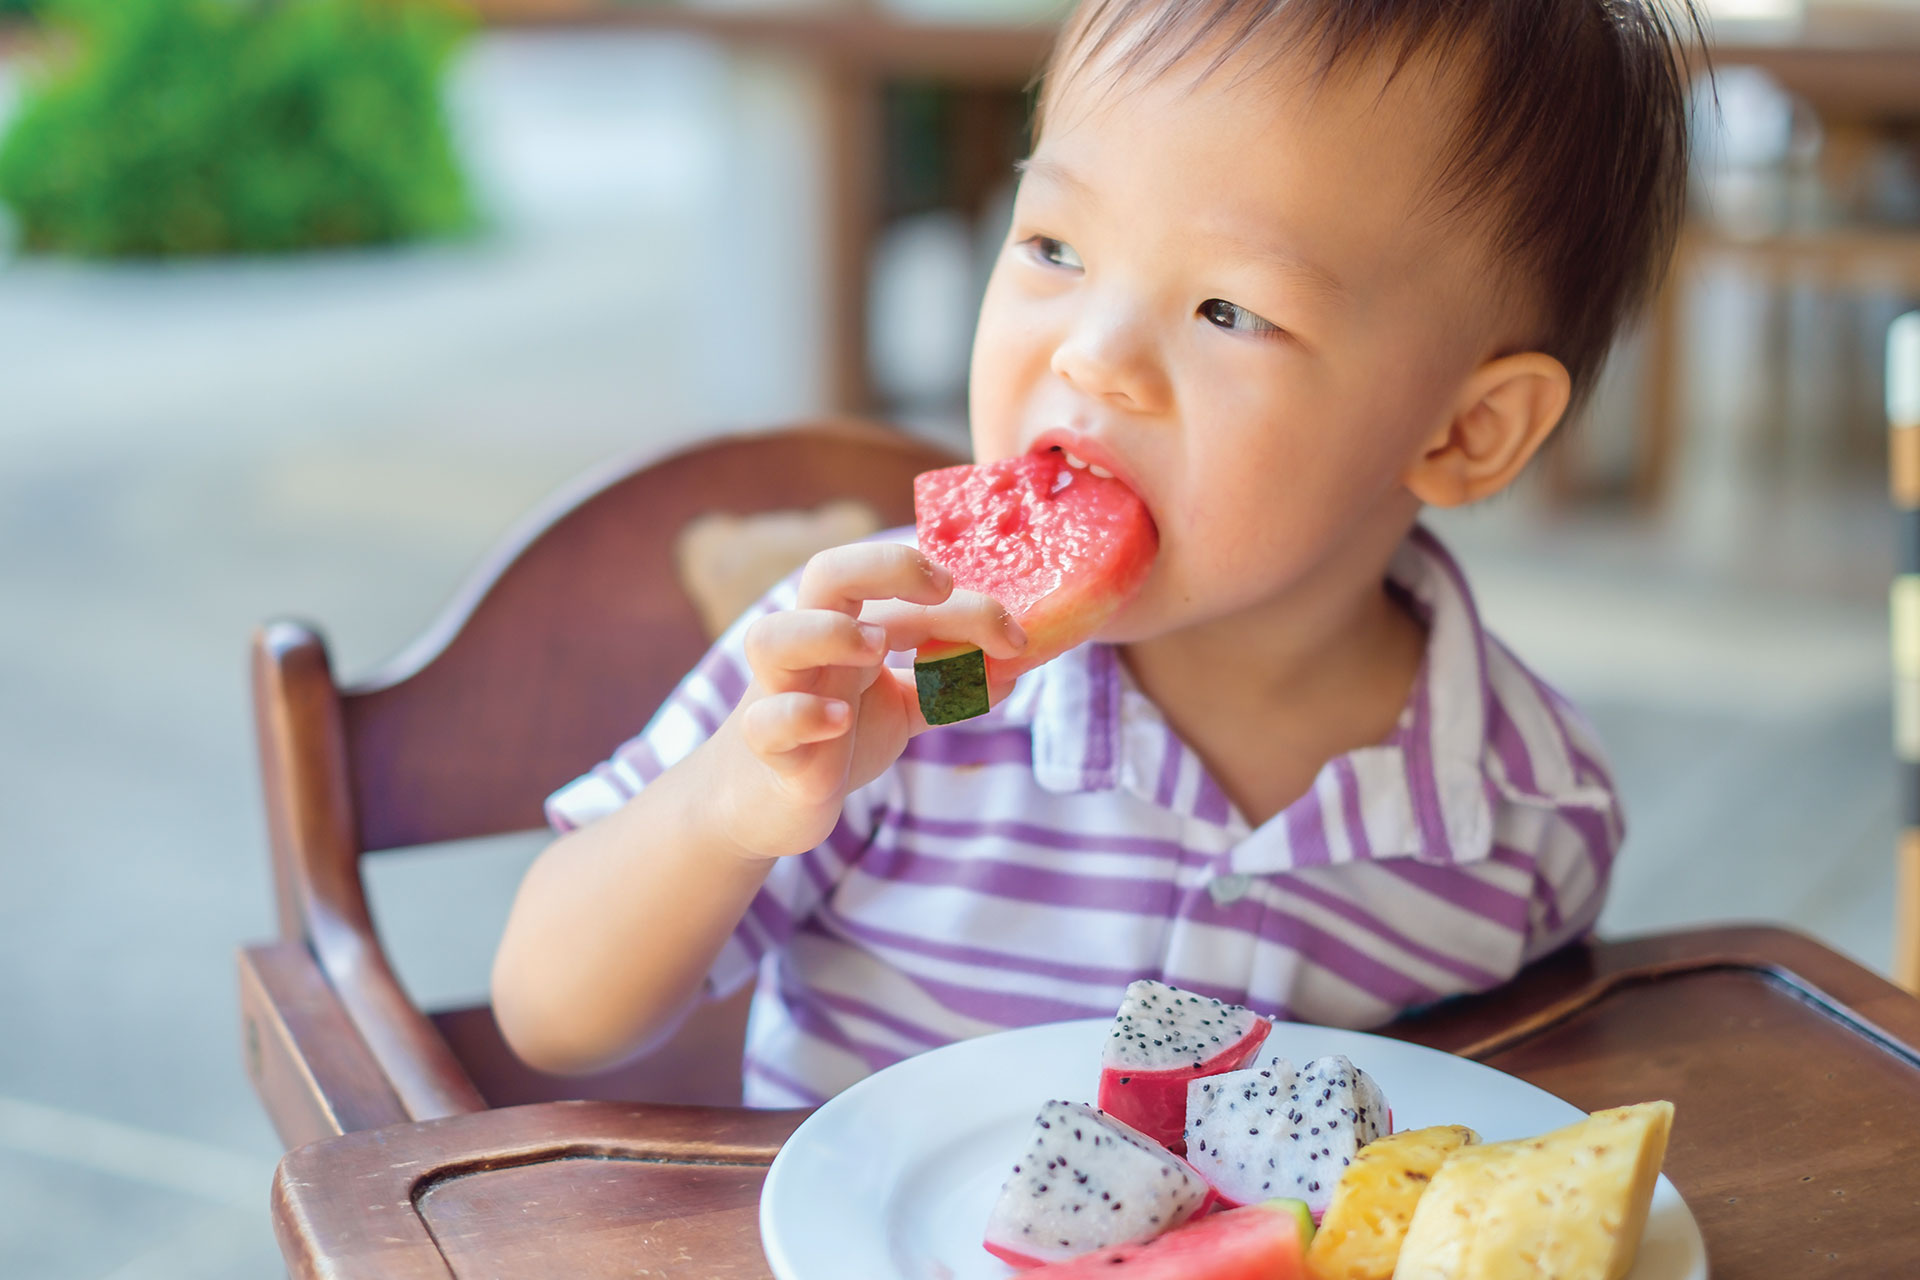
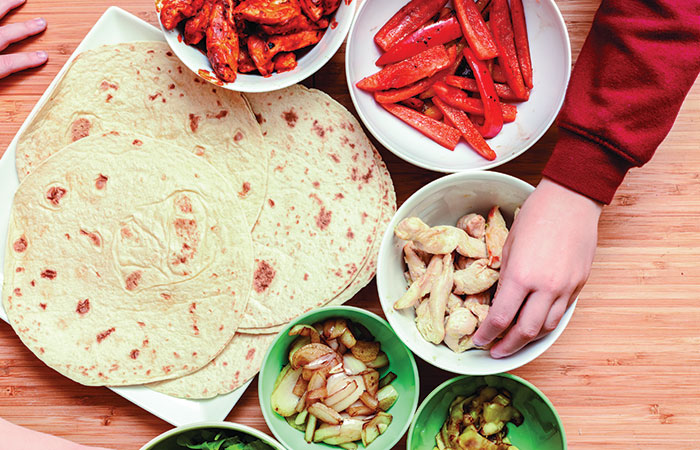
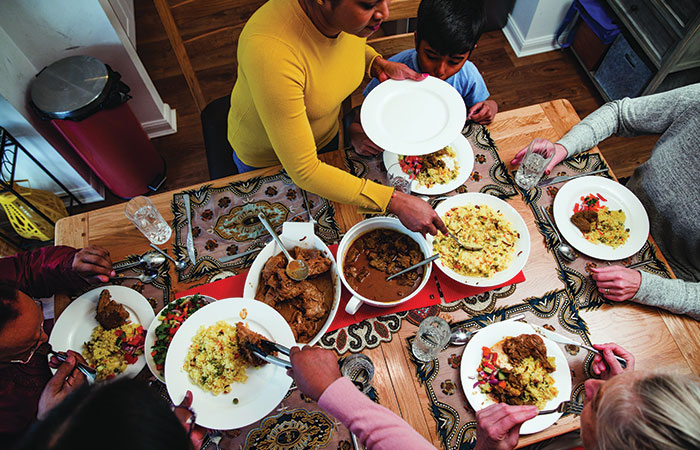
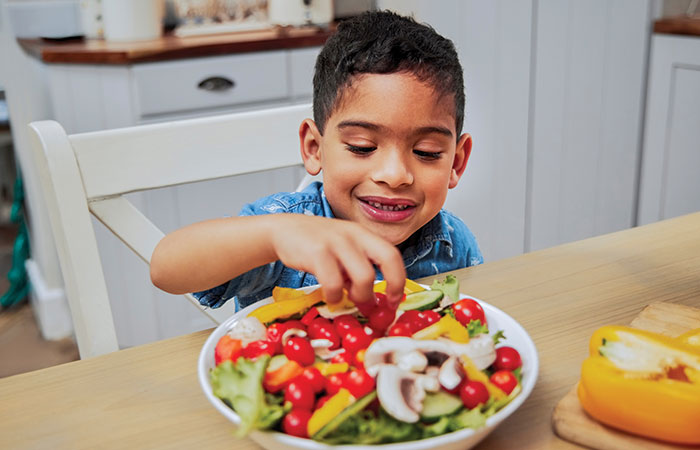
Include your young child in the cooking process, even though it may seem like a lot of mess. Preschoolers are able to tear lettuce, wash vegetables, cut soft foods, mix ingredients with a spoon, set or clear off the table, wash countertops, and more. Studies show that when kids help in the kitchen, they naturally learn about food and are more likely to eat (or at least try) what they’ve made.

SELF-ASSEMBLY

Use do-it-yourself entrees, like tacos or sandwiches, in your weekly menu. Lay out the ingredients buffet-style, and let your preschoolers put their main dish together. For example, one child might choose meat and cheese on their taco while another might go for beans, cheese, lettuce, and salsa. This approach helps your child “own” their meal: it matches their taste buds, which makes it more likely that they’ll eat it. And—it’s less work for you!

self assembly
family feeding

FAMILY-STYLE FEEDING

For this approach, all meal items are on the table in serving dishes. Each family member passes the dishes around, allowing them to serve items of their choice in amounts that match their appetite. Parents can hold bowls for preschoolers, allowing them to help themselves.

A TASTING PLATE

Put this special plate in the center of the meal table, and place any new or unfamiliar food on it. Let your child touch, smell, lick, kiss, put the food in their mouth, chew, or spit out the food on this plate. There should be no pressure to eat the food. The tasting plate is the perfect way to introduce a new food to a young child who may not want to have it on their own plate.

plate tasting

NO THANK YOU

Always let kids know they don’t have to eat at mealtime. While this seems to go against common sense, it actually cuts down on “food fights” and lets your child skip the meal if they’re truly not hungry. Do let your child know they need to sit with the family at mealtime, even if they don’t eat. Don’t offer a stand-in meal or snack; stick with your planned meals and snacks, which for young children is five to six feedings per day. Tell your child that if they don’t eat now, there will be another meal or snack in a few hours.

FRUITS AND VEGETABLES

Reverse their “usual” appearances by serving veggies at breakfast and fruit at dinner… Don’t worry too much if your child isn’t eating veggies— many fruits offer similar nutrients and make up for non-veggie eating. Just keep the vegetables coming to the table, so your child warms up to them eventually.

FRUITS AND VEGETABLES

CREATIVE, CATCHY WORDS AND PHRASES

Naming the food your child eats and making themes for mealtime helps your preschooler’s imagination, which is an active part of their play and learning. Try creative names like Tornado Tacos, Dinosaur Leaves (lettuce), Fishy Friday (salmon), Casa {insert last name} Italiano Night, and Krazy Kids Choice Meal. Research shows that kids are more likely to eat or try new foods when they have catchy names.

There are many options for keeping your meal table a fun and enjoyable place to be! The best part is that your preschooler can learn about food at the same time. How do you plan to keep your family laughing and learning at mealtime?

Side-Lying

Side-Lying Hold

  1. For the right breast, lie on your right side with your baby facing you.
  2. Pull your baby close. Your baby’s mouth should be level with your nipple.
  3. In this position, you can cradle your baby’s back with your left arm and support yourself with your right arm and/or pillows.
  4. Keep loose clothing and bedding away from your baby.
  5. Reverse for the left breast.

This hold is useful when:

cross-cradle

Cross-Cradle Hold

  1. For the right breast, use your left arm to hold your baby’s head at your right breast and baby’s body toward your left side. A pillow across your lap can help support your left arm.
  2. Gently place your left hand behind your baby’s ears and neck, with your thumb and index finger behind each ear and your palm between baby’s shoulder blades. Turn your baby’s body toward yours so your tummies are touching.
  3. Hold your breast as if you are squeezing a sandwich. To protect your back, avoid leaning down to your baby. Instead, bring your baby to you.
  4. As your baby’s mouth opens, push gently with your left palm on baby’s head to help them latch on. Make sure you keep your fingers out of the way.
  5. Reverse for the left breast.

This hold is useful when:

Football

Clutch or “Football” Hold

  1. For the right breast, hold your baby level, facing up, at your right side.
  2. Put your baby’s head near your right nipple and support their back and legs under your right arm.
  3. Hold the base of your baby’s head with your right palm. A pillow underneath your right arm can help support your baby’s weight.
  4. To protect your back, avoid leaning down to your baby. Bring baby to you instead.
  5. Reverse for the left breast.

This hold is useful when:

CRADLE hold

Cradle Hold

  1. For the right breast, cradle your baby with your right arm. Your baby will be on their left side across your lap, facing you at nipple level.
  2. Your baby’s head will rest on your right forearm with your baby’s back along your inner arm and palm.
  3. Turn your baby’s tummy toward your tummy. Your left hand is free to support your breast, if needed. Pillows can help support your arm and elbow.
  4. To protect your back, avoid leaning down to your baby. Instead, bring your baby to you.
  5. Reverse for the left breast.

This hold is useful when:

laid-back

Laid-Back Hold

  1. Lean back on a pillow with your baby’s tummy touching yours and their head at breast level. Some moms find that sitting up nearly straight works well. Others prefer to lean back and lie almost flat.
  2. You can place your baby’s cheek near your breast, or you may want to use one hand to hold your breast near your baby. It’s up to you and what you think feels best.
  3. Your baby will naturally find your nipple, latch, and begin to suckle.

This hold is useful when: